 Lorena G.
A well-maintained exhibit is a crucial component for any organization aiming to show its brand effectively.
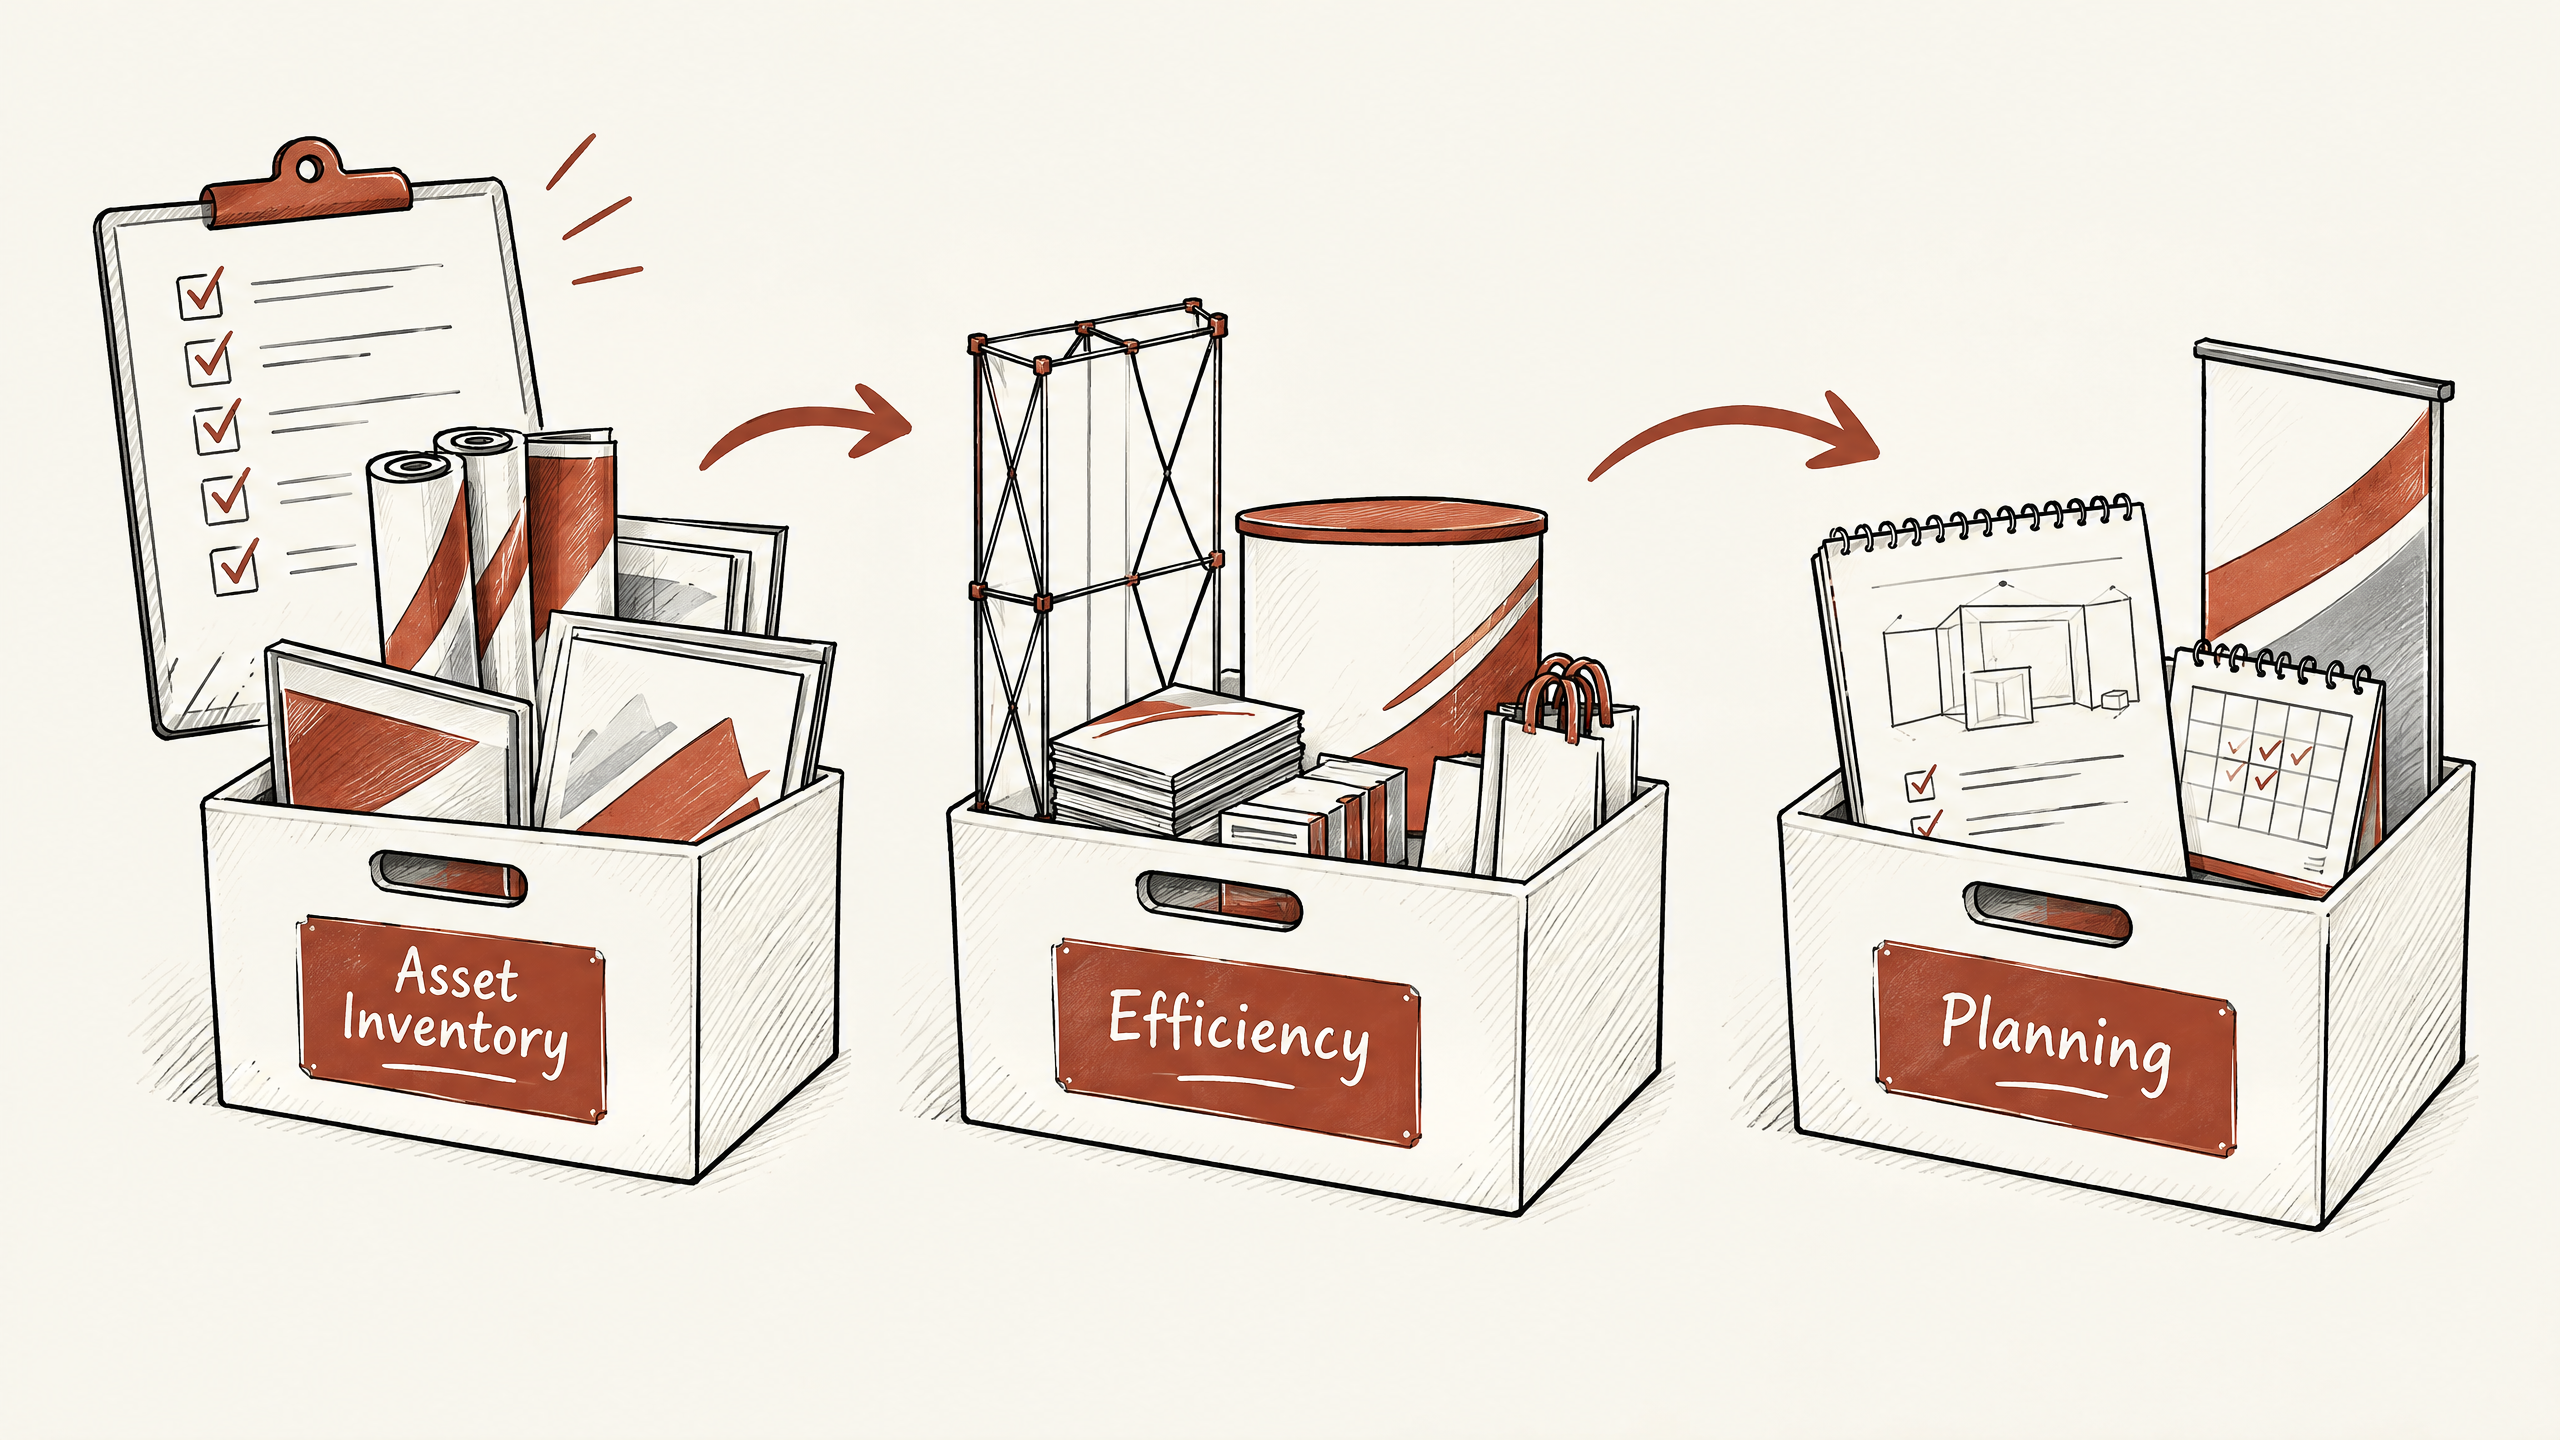
But without a thorough exhibit asset inventory, achieving this can be a daunting task. Here is how I would approach it: conducting a detailed inventory is the foundation for ensuring that all your exhibit assets are in optimal condition and readily accessible when needed.
Before you try planning for the next big event, it’s essential to assess your current asset inventory.
This step helps your team keep track of what you have and identify missing pieces or those in need of replacement.
By knowing exactly what you have, you can prevent unnecessary expenses and avoid last-minute stress.
Categorization and labeling play a significant role in streamlining asset management.
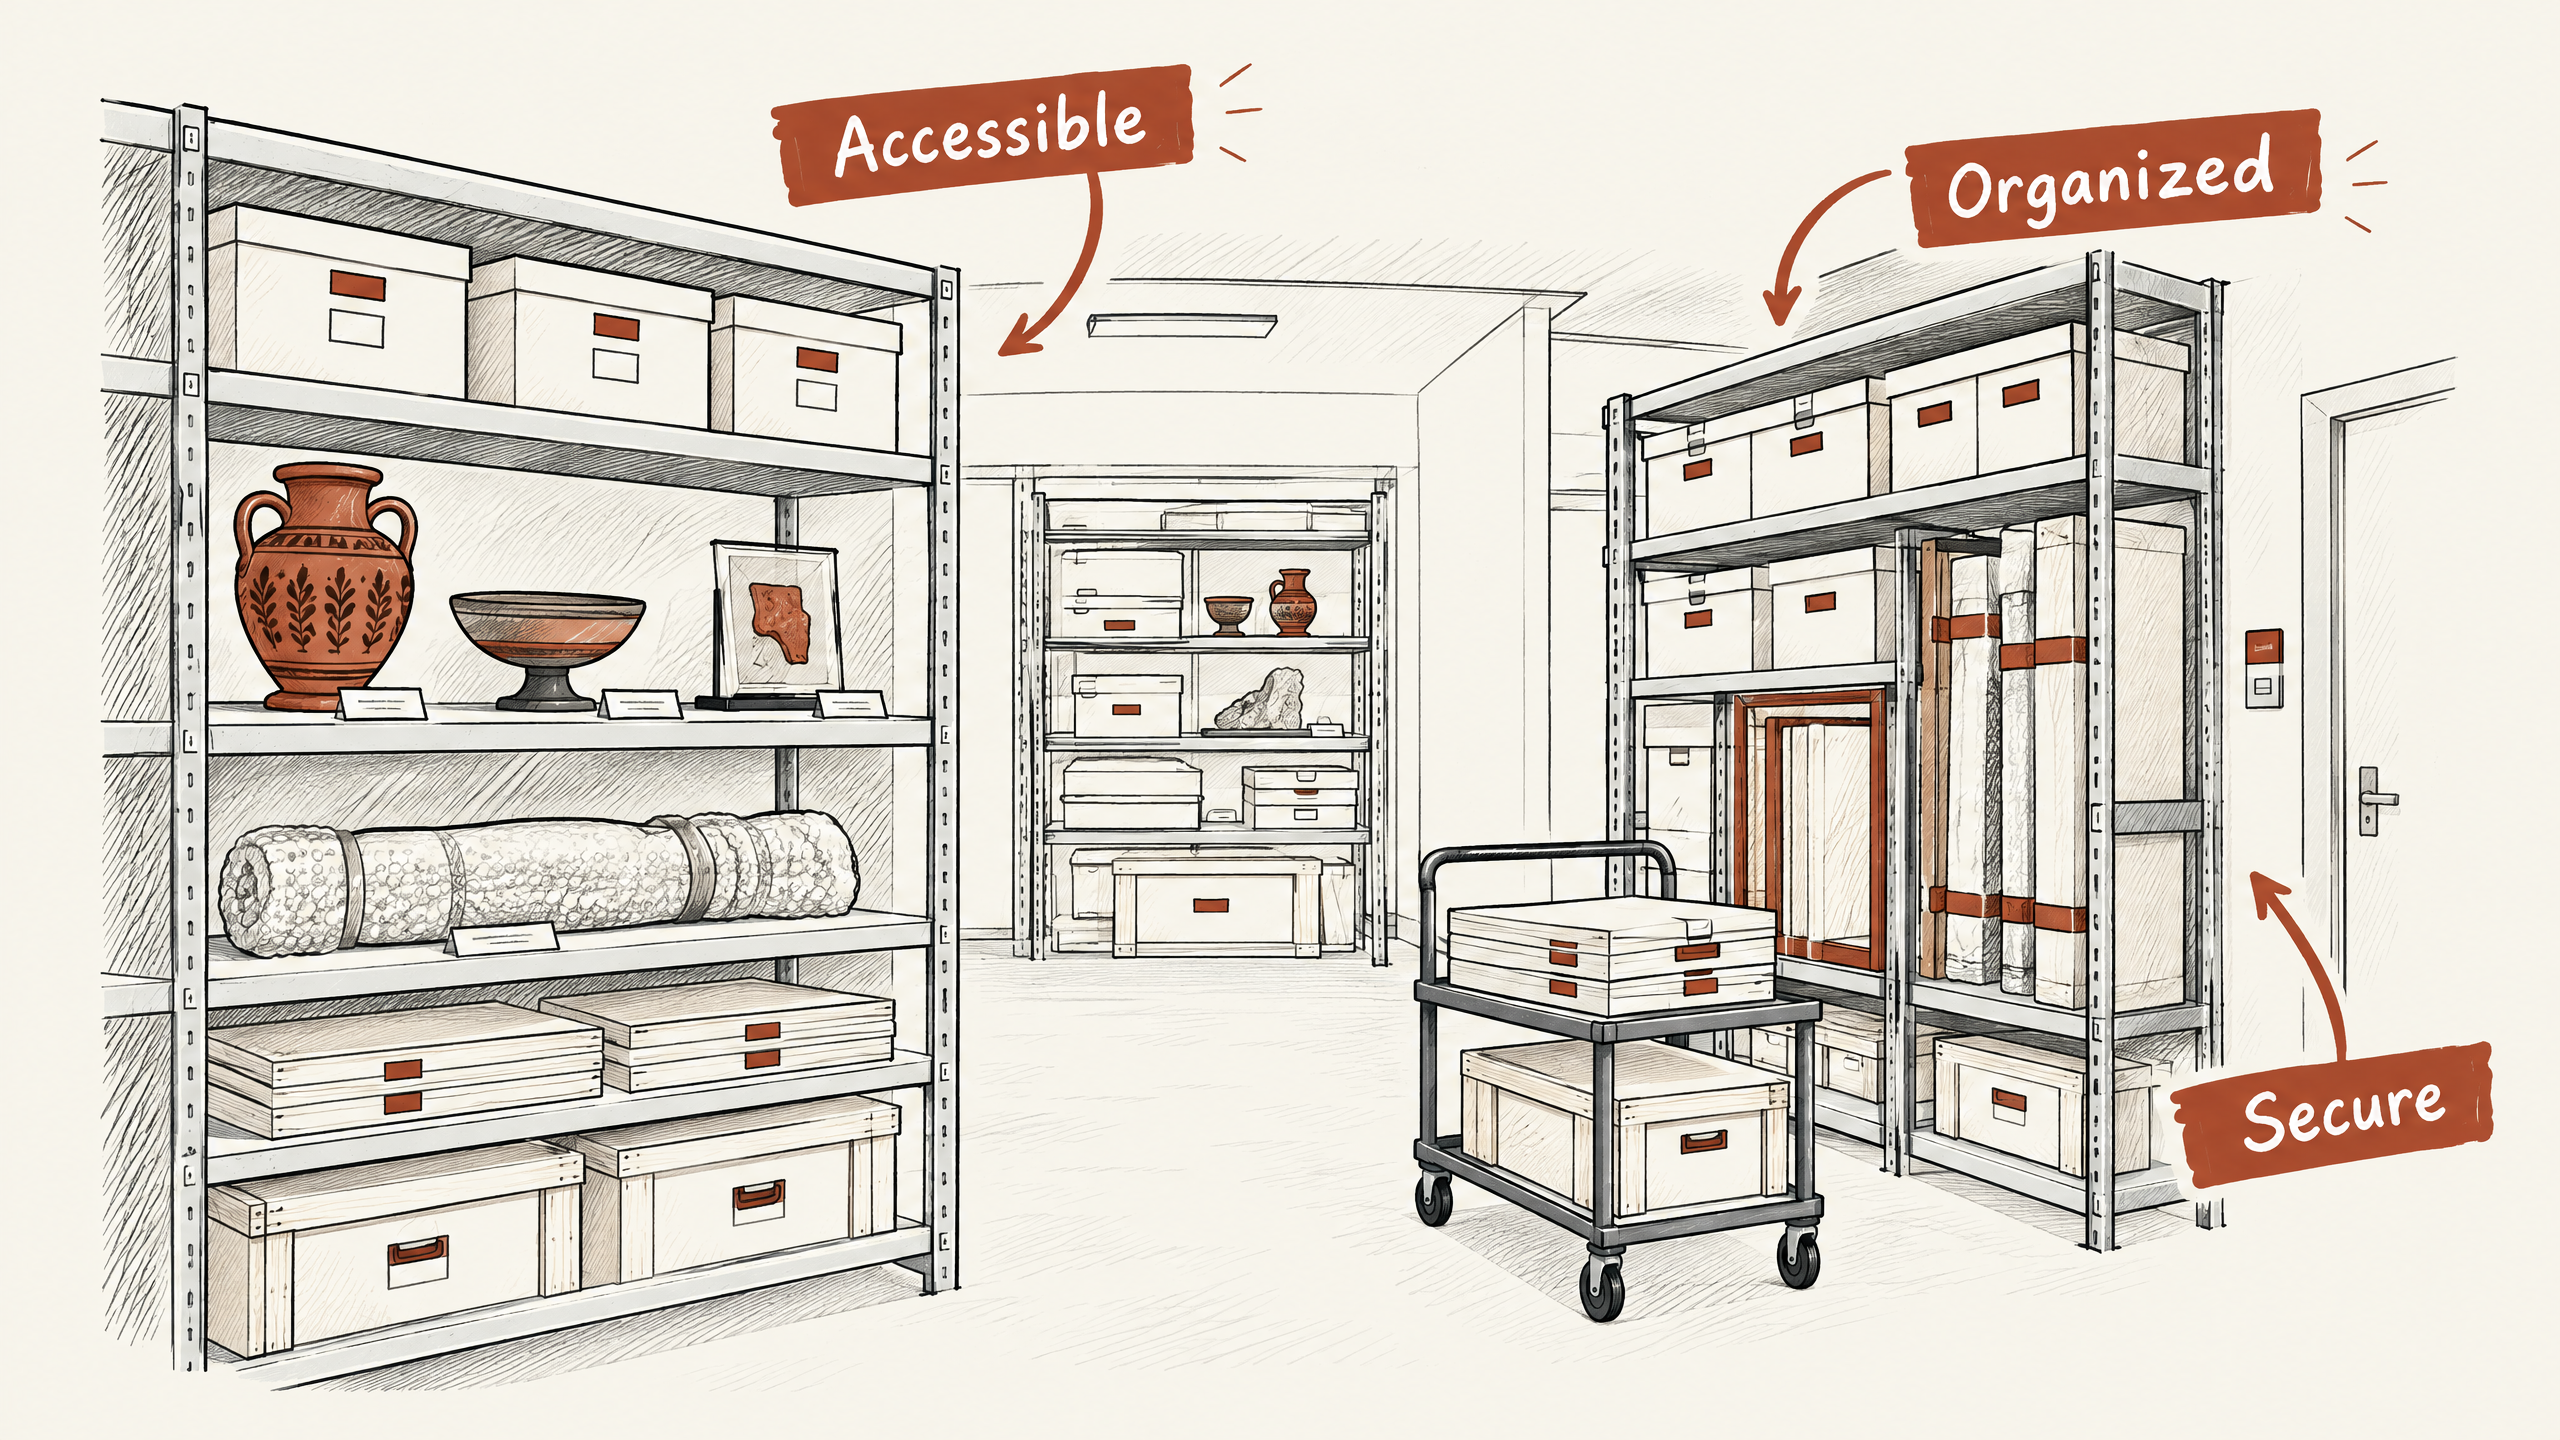
When your assets are properly labeled and stored in categories, it becomes much easier to locate specific items.
This organization helps save time and ensures you’re prepared for any upcoming events.
With this guide, I will walk you through six essential steps for conducting a thorough exhibit asset inventory.
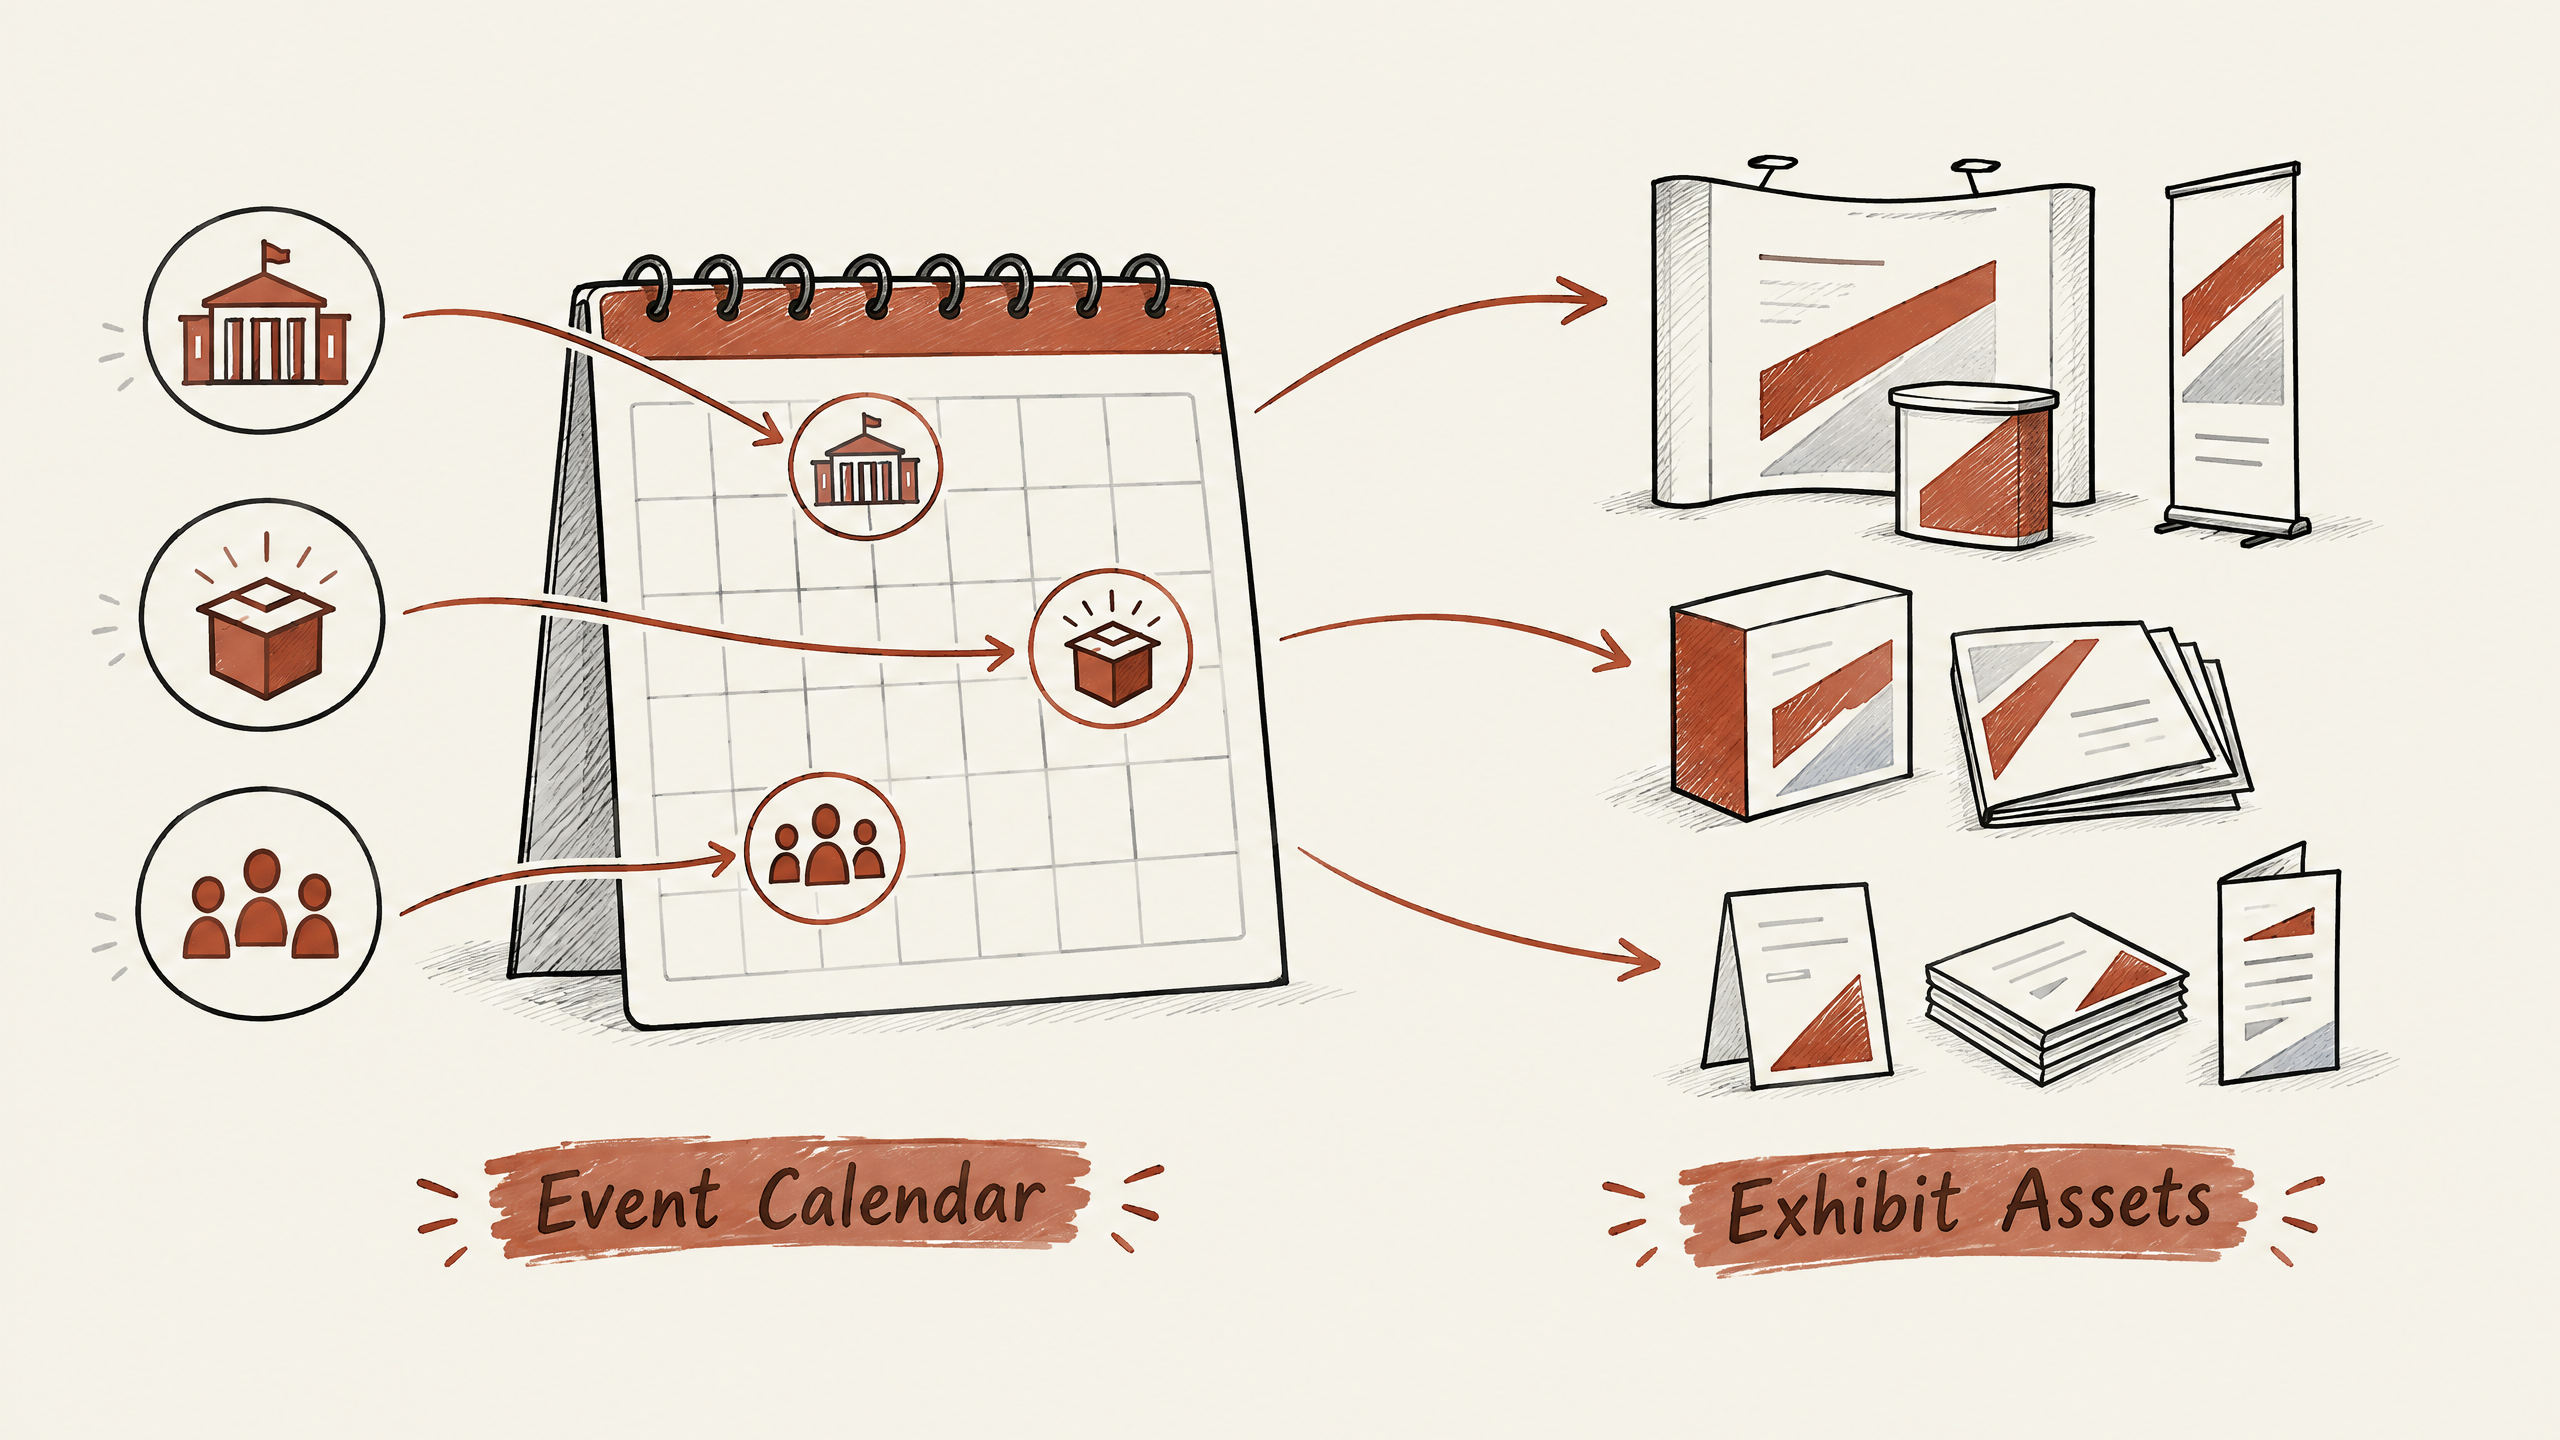
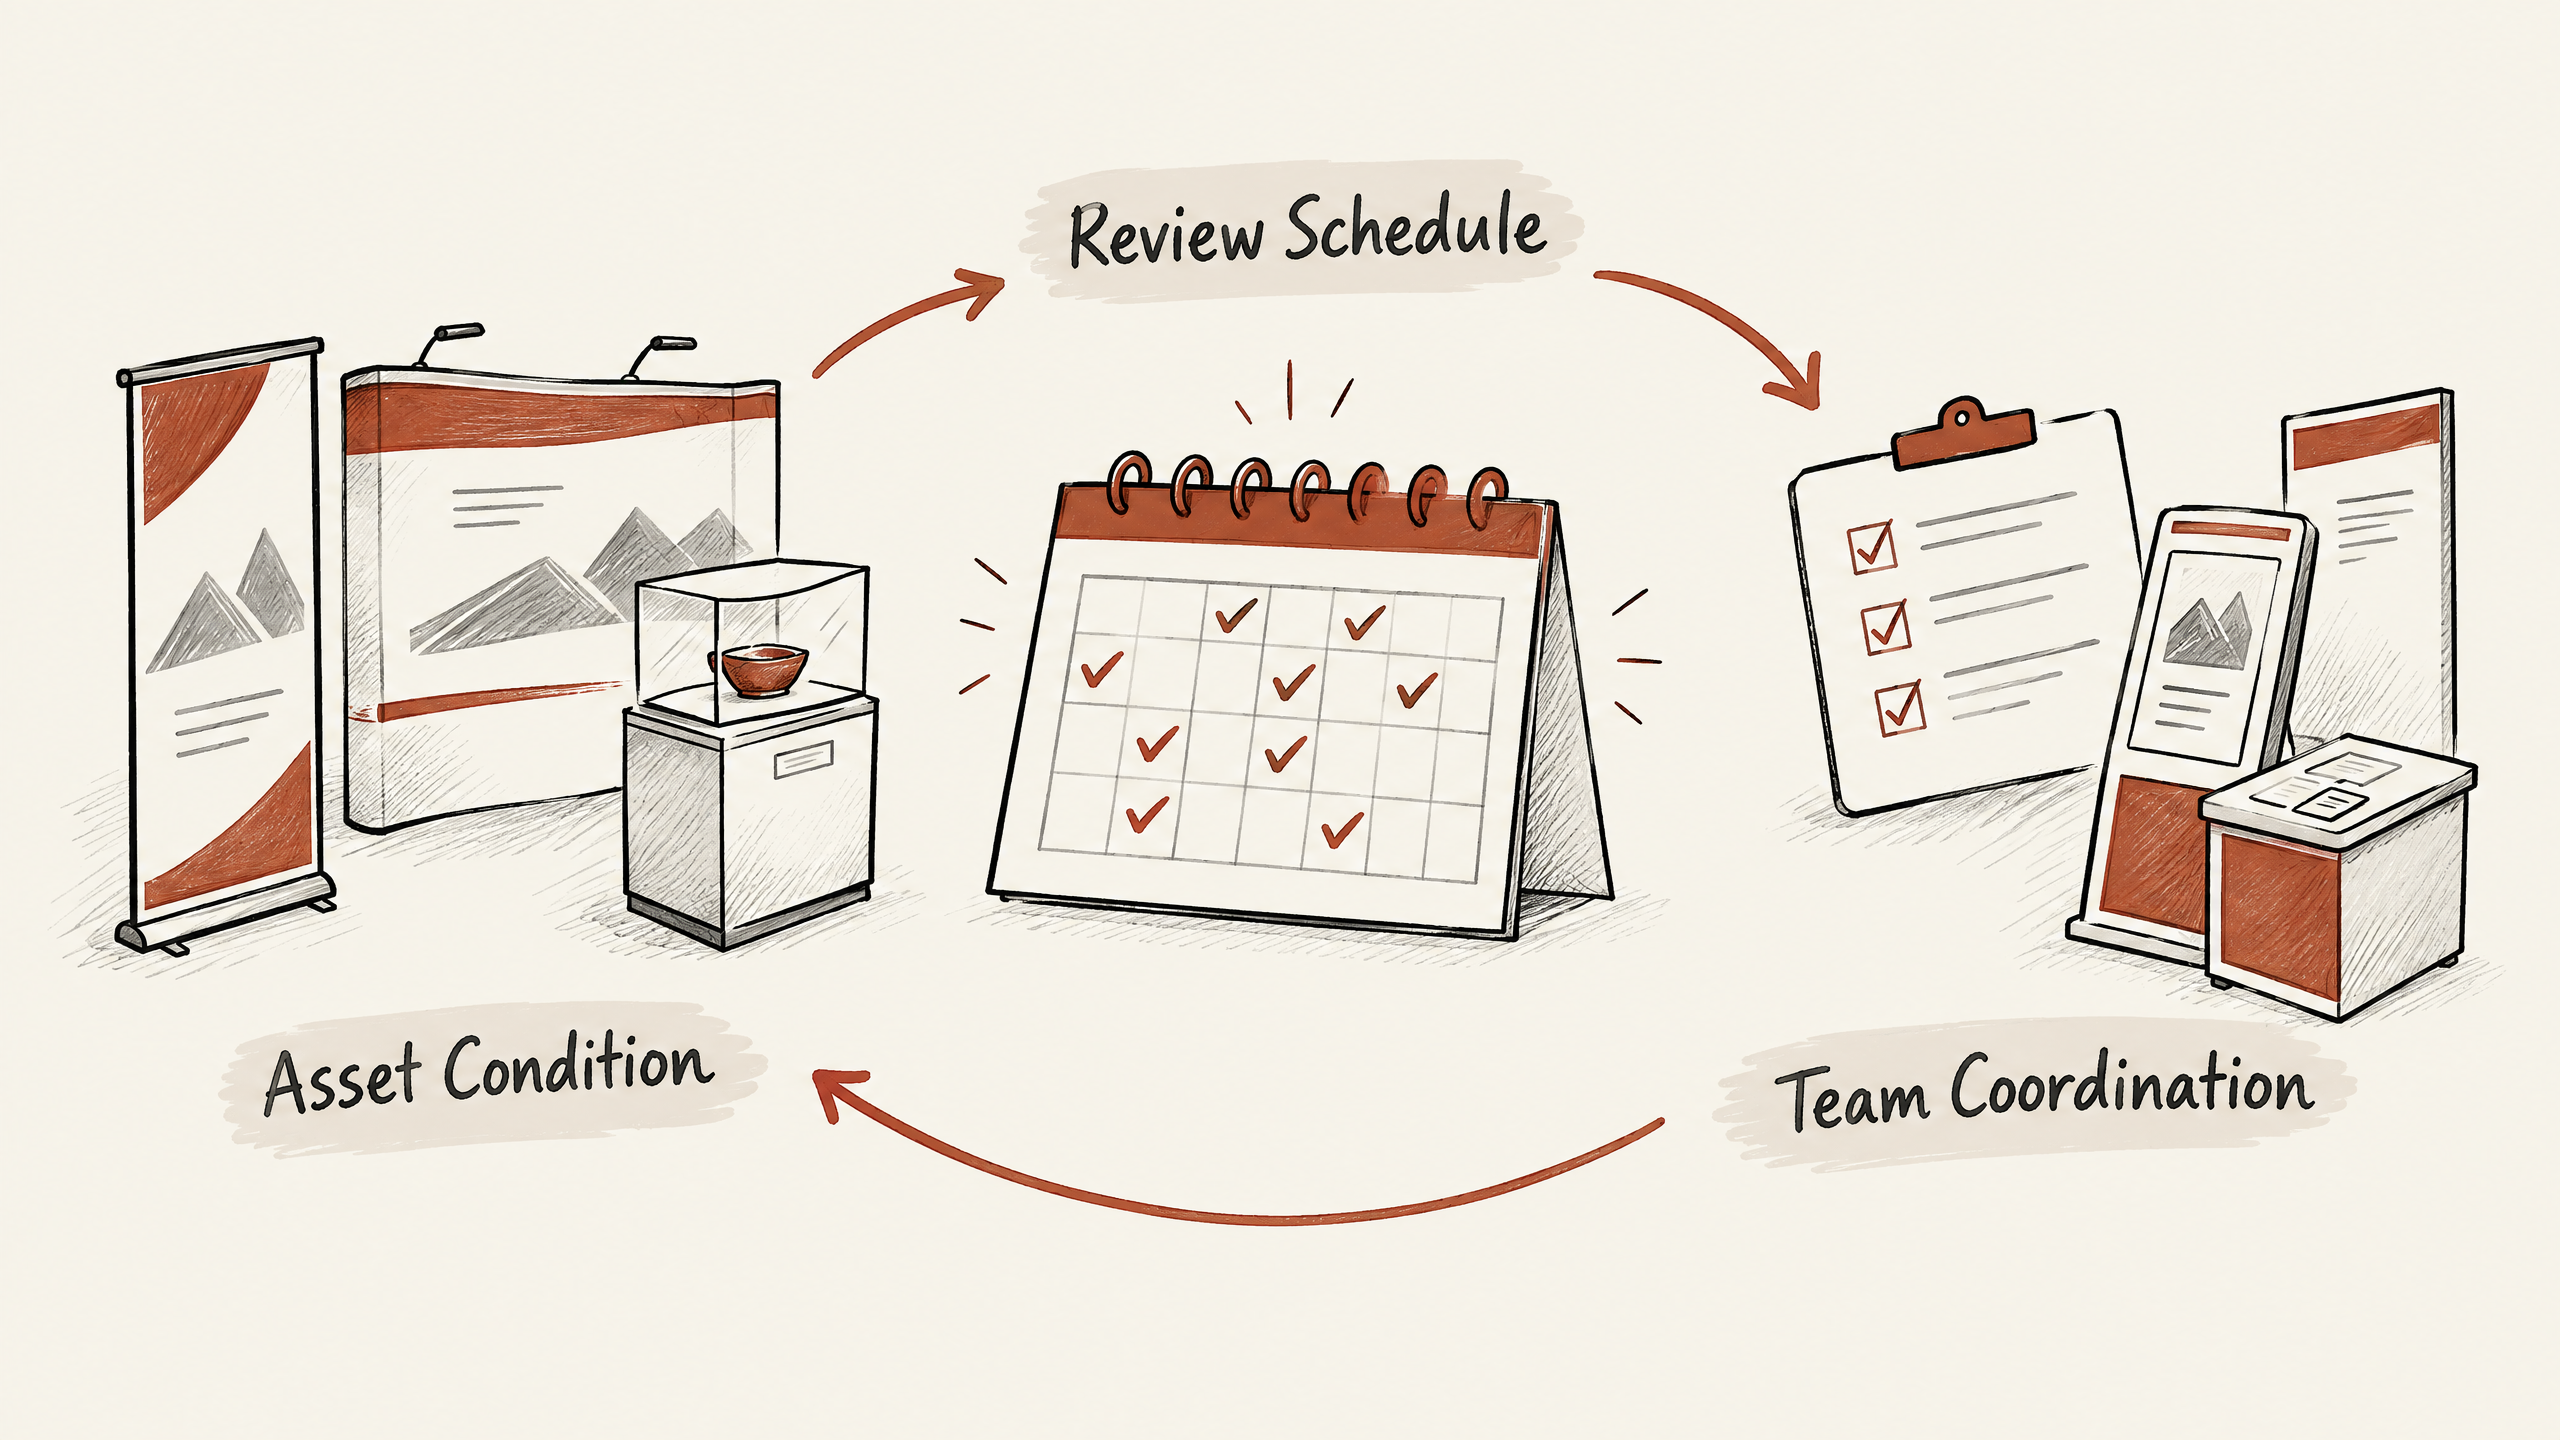
By the end, you’ll be equipped with the knowledge needed to manage your assets effectively, prioritize tasks based on your event calendar, and establish an efficient review schedule.
- Regularly updated asset inventories prevent costly oversights.
- Identify damaged assets early to save on repairs.
- Centralize storage to streamline inventory management.
- Prioritize assets based on upcoming exhibit needs.
- Schedule regular checks to maintain asset quality.
Regularly updating your asset inventories helps prevent costly oversights and ensures you’re always prepared for upcoming exhibit needs.
By focusing on these key areas, you can maintain control and efficiently manage your exhibit assets.
1. Assess Current Asset Inventory
Your first step in conducting a thorough exhibit asset inventory is to assess your current stock.
This process sets the foundation for all other asset management tasks.
Begin by compiling a comprehensive list of all assets, including booth structures, graphics, and promotional items.
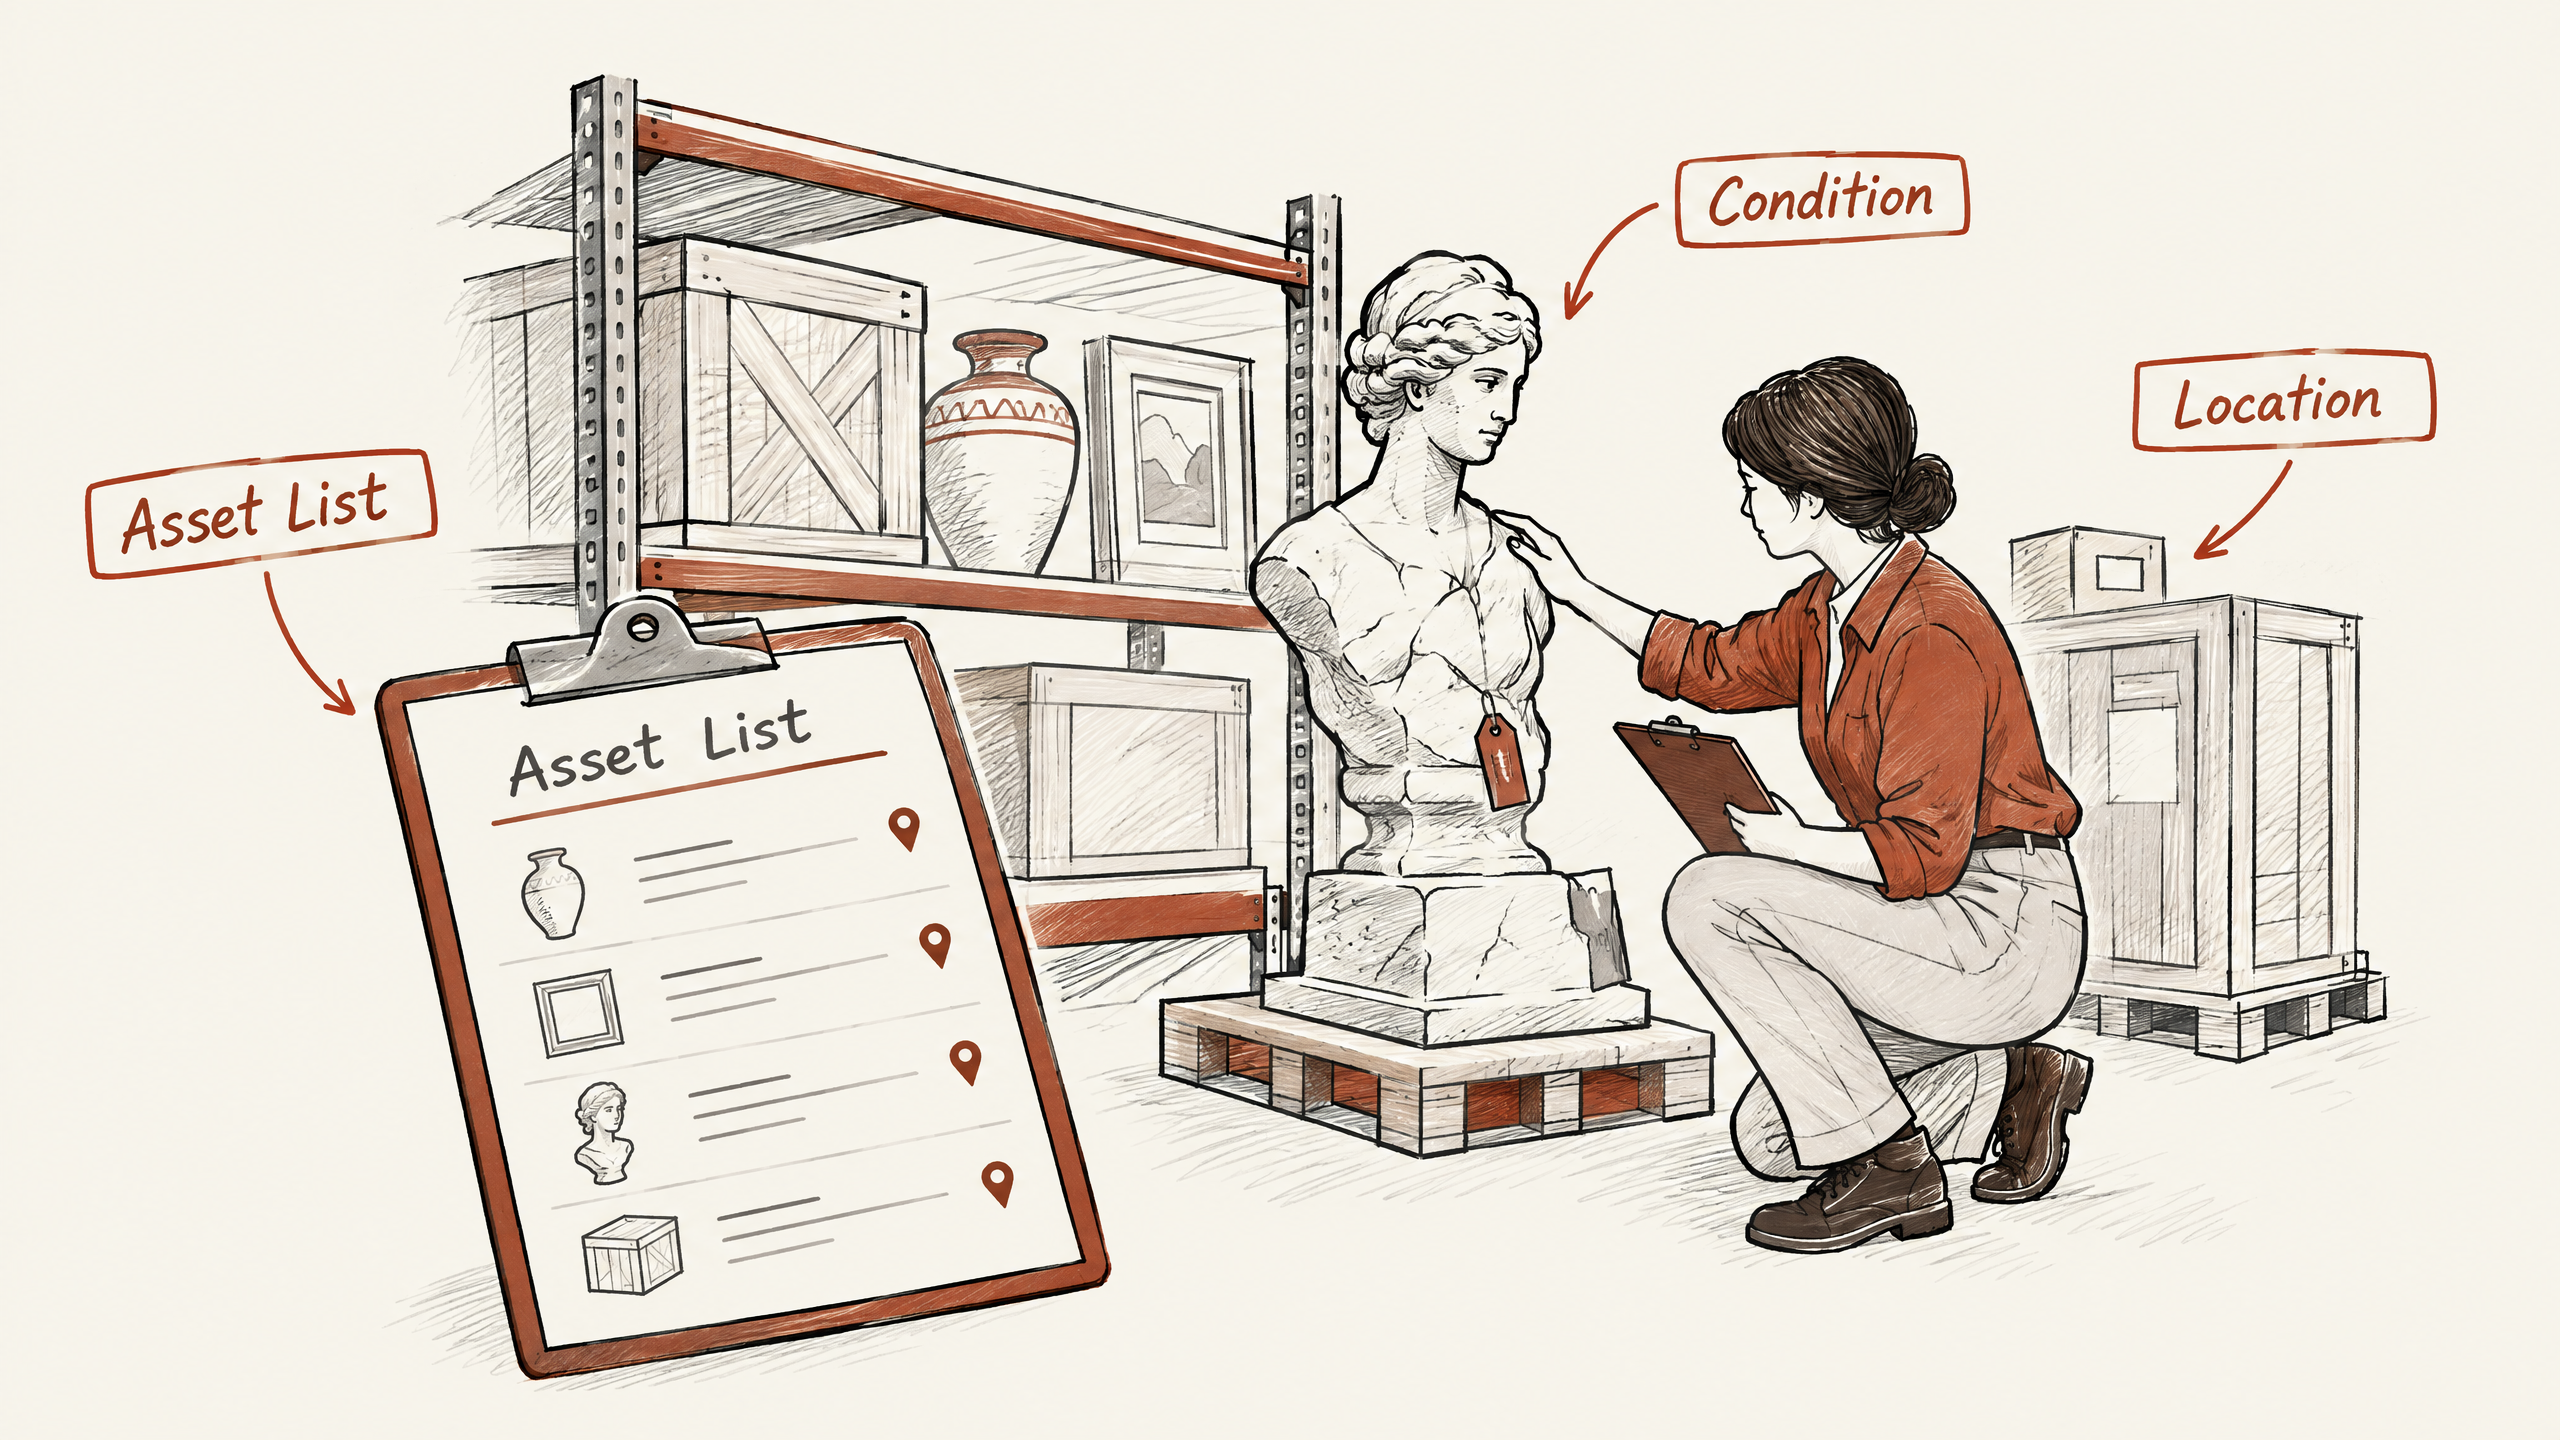
Using a spreadsheet or inventory management software will help organize and track each item.
To gather complete information, I suggest setting aside dedicated time to walk through your storage facility.
Bring along a member of your team to help spot any miscategorized or missing items. As you do this, take meticulous notes about the item’s condition and location.
If Exhibitant is your agency partner, our team can offer guidance on optimal methods to simplify this assessment.
A voiding document errors is crucial. Cross-verify your list with previous inventories if available, or request earlier records from team members who oversaw storage.
This reduces discrepancies and helps identify items that need attention.
For example, if your list shows six banner stands, verify their presence and identify any signage updates needed.
While assessing, be vigilant for unrecorded assets, which can lead to cost inefficiencies.
Note obstacles like irregular storage spaces or hard-to-access items to address in your follow-up actions. Remain realistic about available time, space, and team member availability during this initial assessment.
Conclude this step with a brief meeting to confirm findings and outline subsequent steps. Allocating ownership for each task can enhance accountability and make sure follow-up actions proceed smoothly.
2. Categorize and Label Assets
An effective way to manage your exhibit inventory is to categorize and label each asset.
By organizing assets into distinct categories, your team can quickly identify what is available for upcoming events.
This step will also help you determine if specific items need repairs or need to be replaced. Clear labels make sure everyone knows what each item is, reducing confusion during setup and teardown.
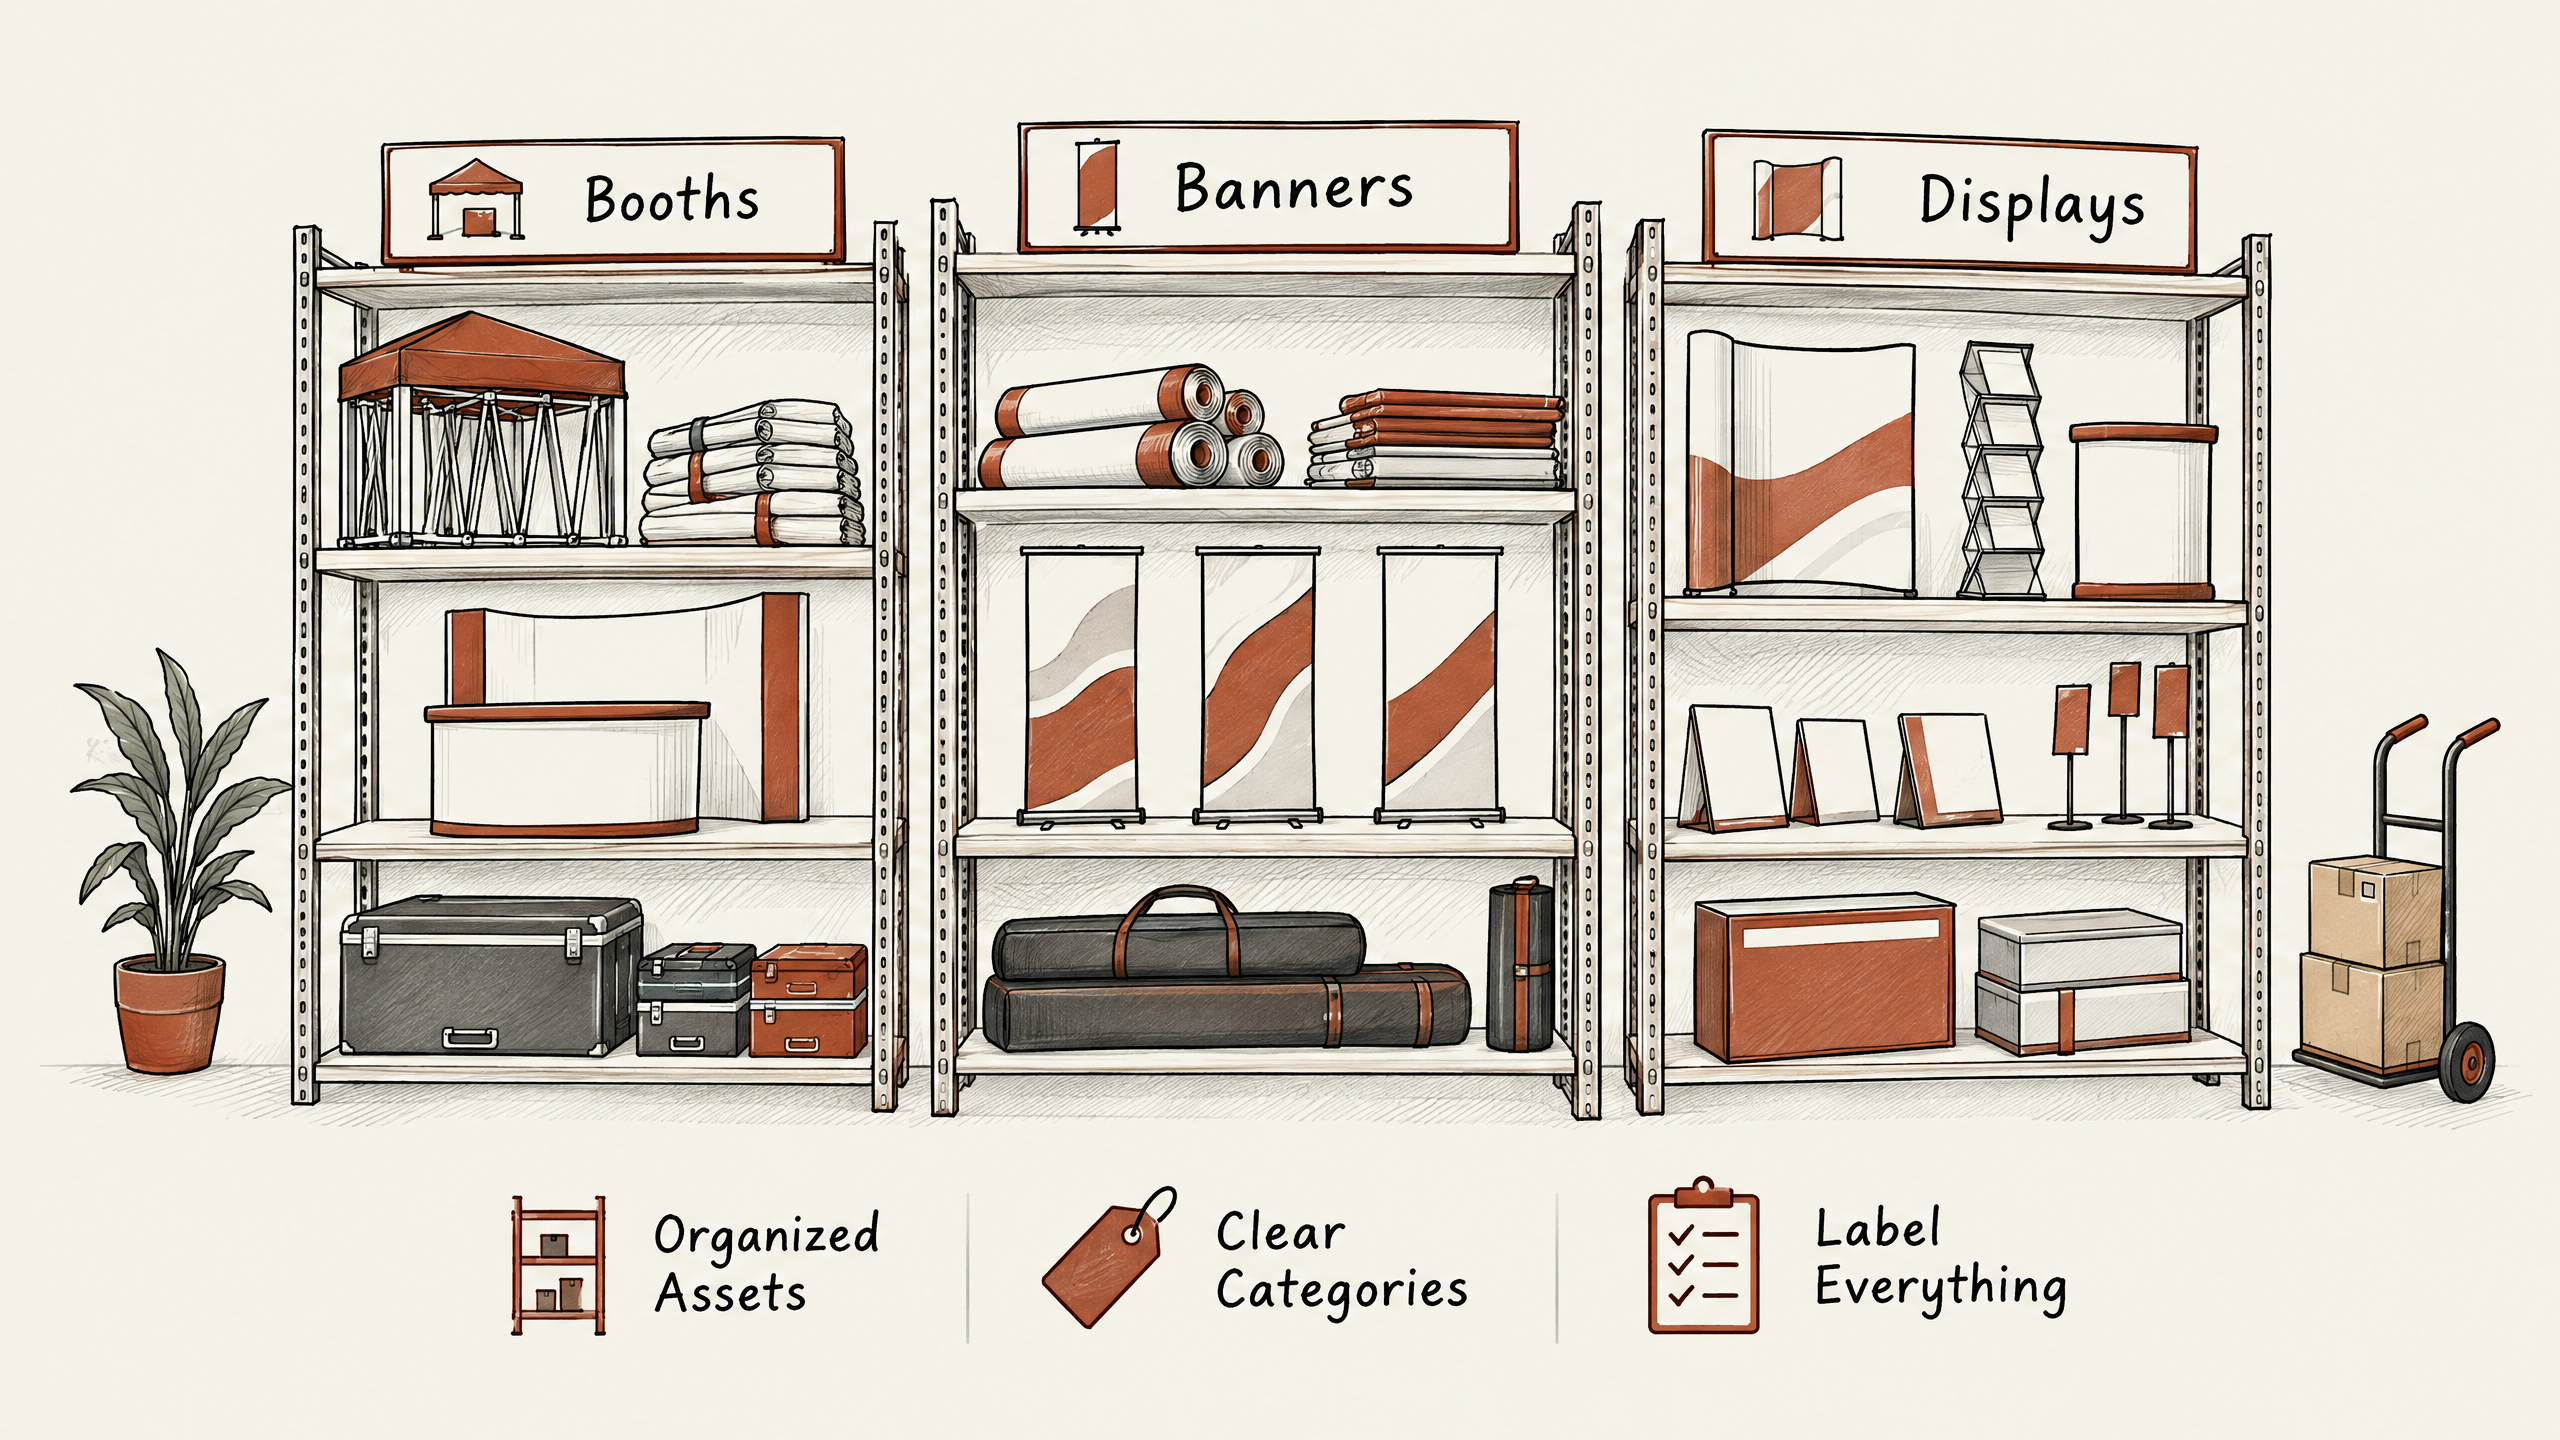
Start by dividing your assets into logical categories. Common categories include booths, banners, digital displays, and promotional materials.
Some teams might also add a category for logistical items, such as tables and chairs.
Tailor these categories to your needs, ensuring they reflect your collection of exhibit assets.
Next, focus on the labeling process. Use a consistent system for naming and labeling, ideally with durable, color-coded tags or labels.
Include important information such as asset type, quantity, and any unique identifiers. This practice not only ensures accuracy but also speeds up inventory checks and reduces errors in asset allocation.
Consider using barcodes or RFID tags for more comprehensive inventories.
This technology allows for quick scanning and tracking, giving your team real-time data on asset locations and condition.
The initial setup might require investment in equipment and software, but the long-term efficiency gains can be a worthwhile tradeoff.
A common mistake in this stage is over-complicating the labeling system. make sure that labels are readable and simple enough for any team member to understand.
Balance the need for information with clarity, avoiding overly technical terms that could confuse new team members.
3. Inspect for Damage and Wear
The third step in conducting a thorough exhibit asset inventory is to inspect your assets for any damage and wear.
This crucial task helps identify which items may need repair or replacement before your next trade show.
Neglecting to do so can result in unexpected costs and logistical challenges during events.
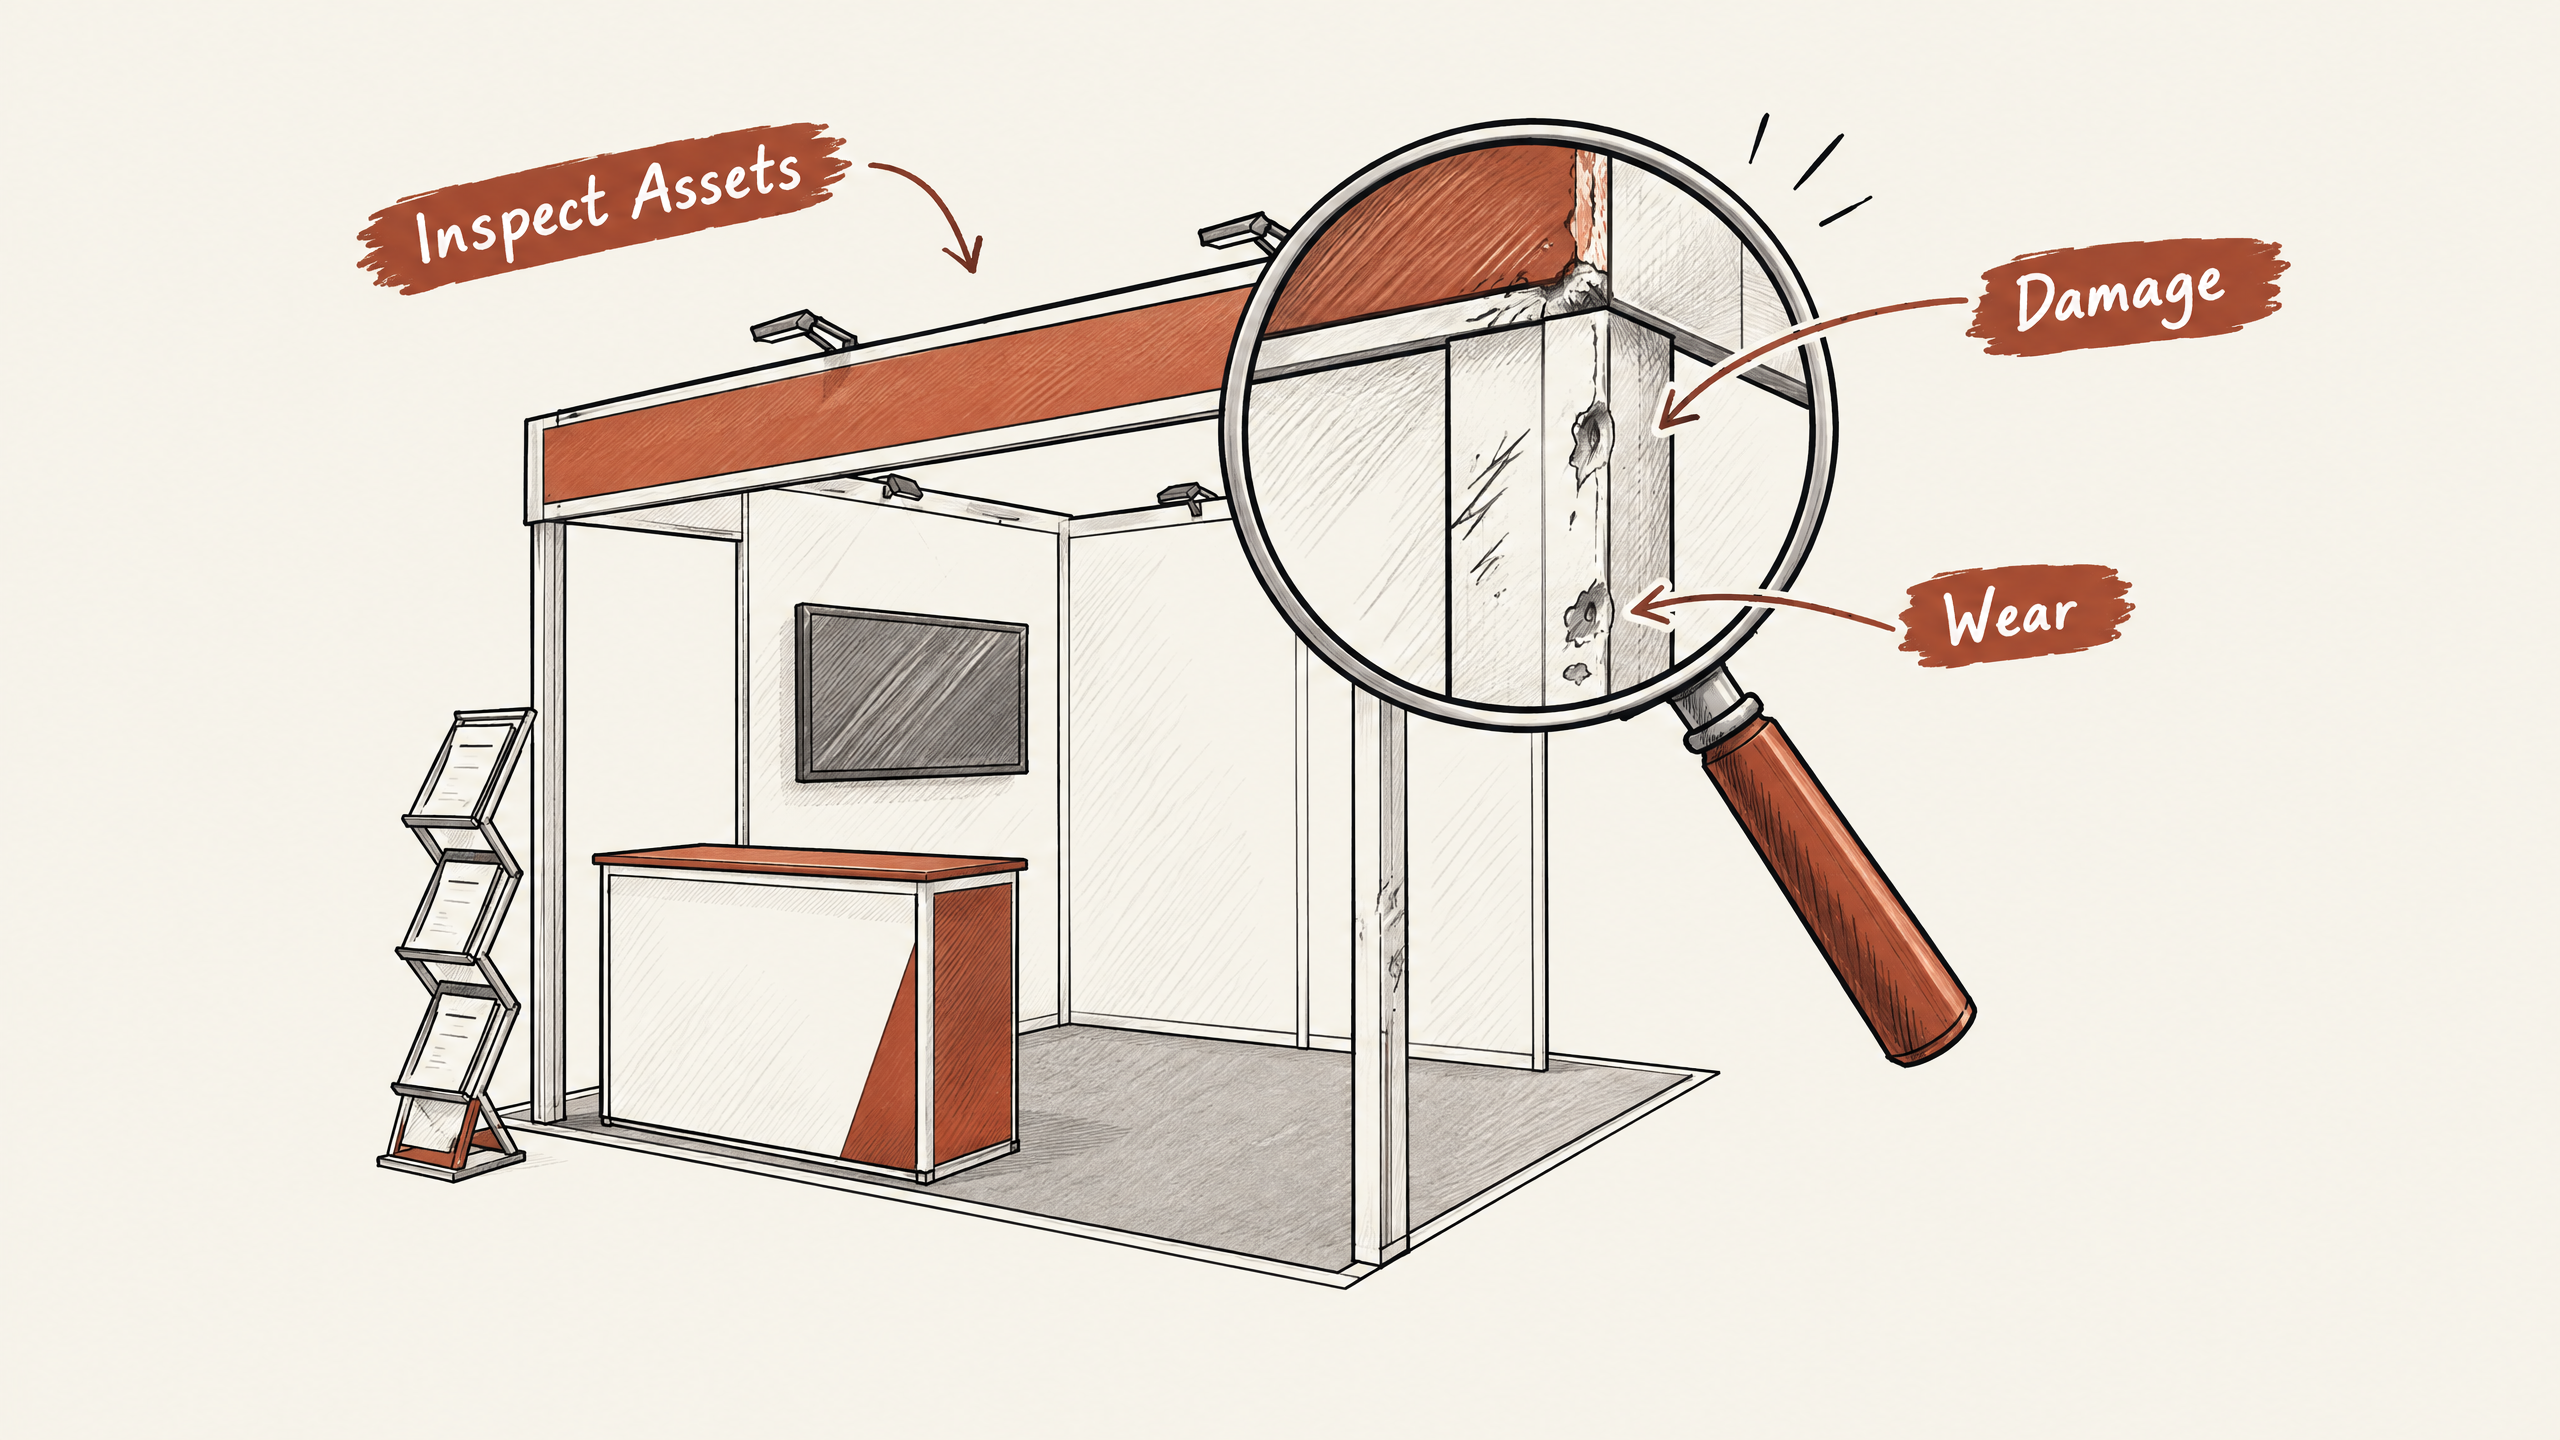
Start by gathering all your exhibit assets in one place.
This will allow you to easily examine each piece up close. Items to inspect include booth structures, display panels, lighting equipment, and any branded merchandise.
Look for common issues like scratches, dents, tears, or malfunctioning components.
Using a checklist to note each asset’s condition can simplify this process and provide a documented reference for future evaluations.
Include a set of criteria for evaluating each asset.
Ask yourself: is the asset structurally sound?
Does it function as it should?
Are graphics clear and untarnished? For instance, if a banner has frayed edges or faded colors, it might not make the best impression at your exhibit.
Note these findings to guide potential repairs or replacements.
It’s also important to assess the wear based on usage frequency.
Items frequently used in multiple trade shows may show more wear and require more immediate attention.
Conversely, assets that reside in storage for long periods might only need a quick inspection.
While thorough inspections can be time-consuming, they are vital for maintaining a professional appearance and ensuring safety at your events.
Ignoring this step could lead to defects going unnoticed, affecting your brand’s image and potentially leading to higher costs. As you proceed, allocate some time and resources for timely repairs before items are needed for a show.

 Louie J.